Developer setup for programming with 🦕 Deno
I started exploring Deno pretty late, almost around the time they released v1. I have been mainly doing PoCs. Because of the lack of stable libraries (aws-sdk, for example), I haven’t been able to justify it’s use in production. However, that doesn’t stop me from considering it for any new projects that will come my way.
If you’re on this page, you probably have played with Deno already. So I am not going to list the steps of installing it, instead I will share some tips that I found useful while working with it.
Deno extension for Visual Studio Code
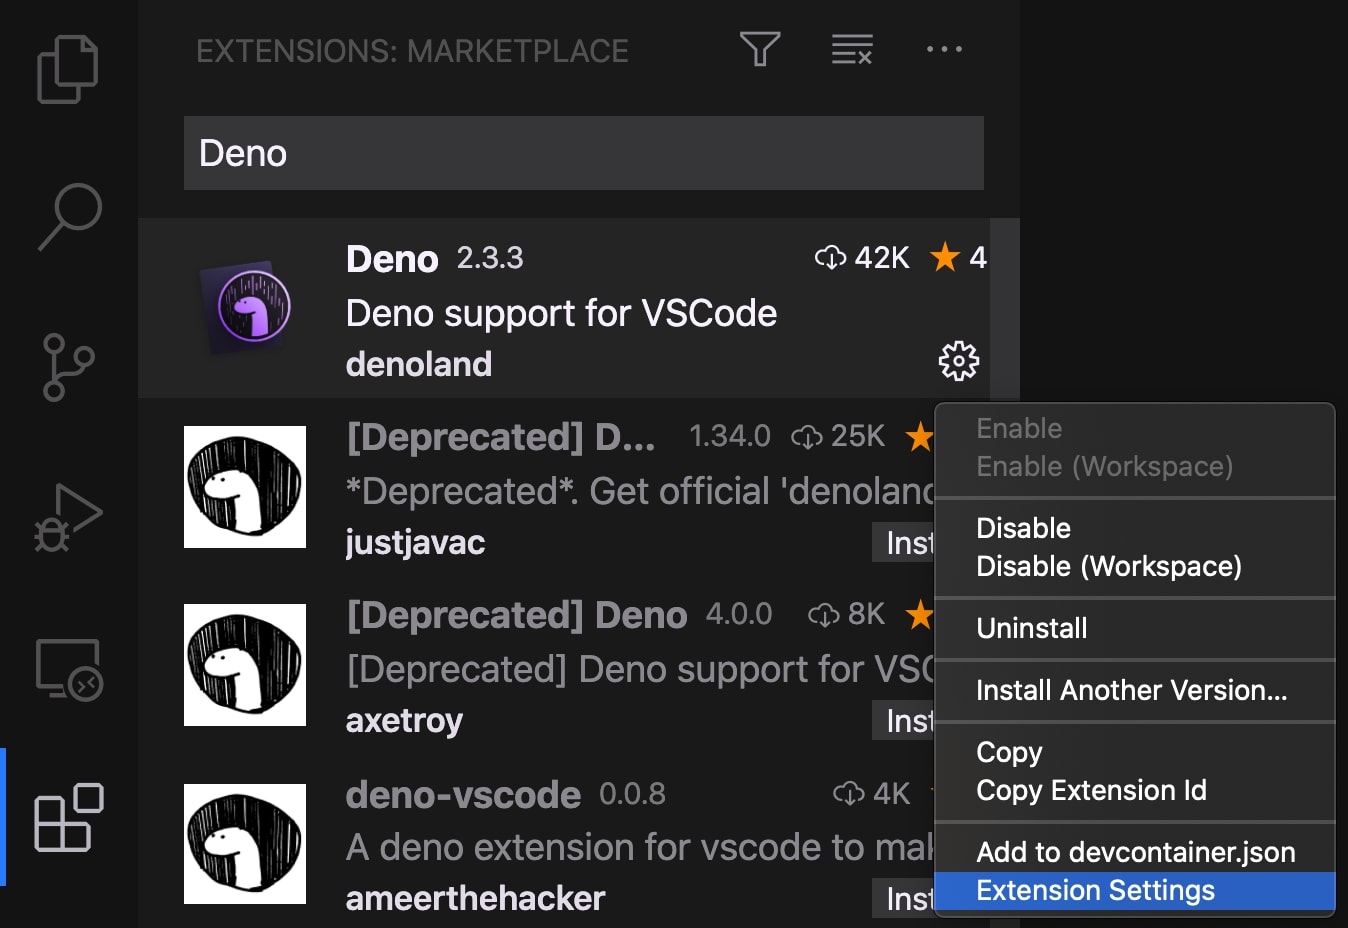
You probably prefer vim for text editing, but if you happen to use VS Code for this purpose, you’d find the official Deno extension pretty handy. It should be the first item when you search for Deno in extensions within VS Code. You can also find it on the marketplace: Visual Studio Code Deno extension
💡 for workspace users
If you use workspaces in VS Code, add this to your workspace file so that someone starting fresh on the project, can get up and running quickly:
  "extensions": {
    "recommendations": ["denoland.vscode-deno"]
  }
Extension setup
The extension is not enabled globally. It’s recommended that it is enabled for folder/workspace rather than for user (global). Go to extension setting and enable it:
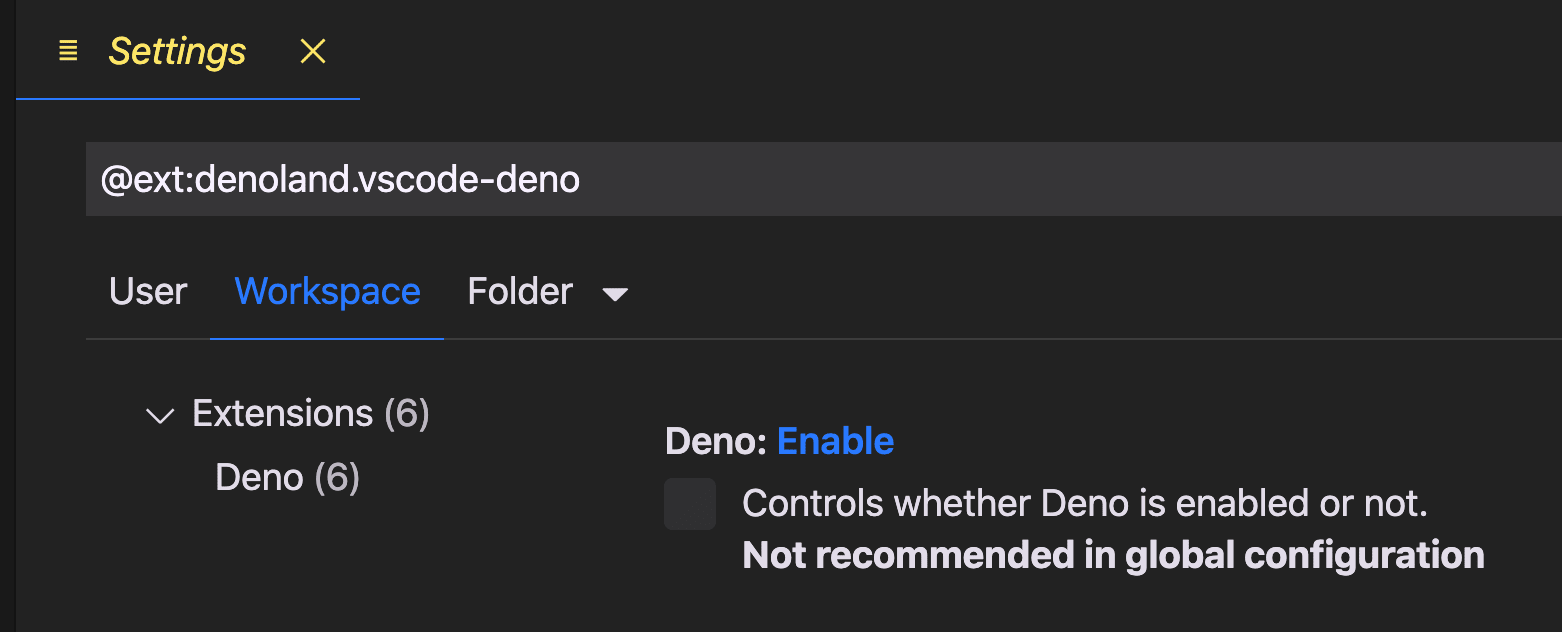
Enabling it will add a json entry as one of the following:
- in workspace file:
  "settings": {
    "deno.enable": true
  }
- in
.vscode/settings.jsonfor folder
{
  "deno.enable": true
}
Intellisense
The extension provides intellisense support for Deno. It extends to import of remote URLs too - all you need are these lines in your settings:
{
  "deno.import_intellisense_autodiscovery": true,
  "deno.import_intellisense_origins": {
    "https://deno.land/":true
  }
}
Linting
Deno also comes with linting capabilities as an unstable feature. If you want VS Code to take advantage of it, add the following settings:
{
  "deno.lint": true,
  "deno.unstable": true
}
Formatting
In order to utilise Deno’s formatting tool within VS Code, you’ll need the following setting:
{
  "[typescript]": {
    "editor.defaultFormatter": "denoland.vscode-deno",
  }
}
Debugging
Create the launch file (.vscode/launch.json) inside your project:
{
  "version": "0.2.0",
  "configurations": [
    {
      "name": "Launch Deno",
      "request": "launch",
      "type": "pwa-node",
      "program": "main.ts",
      "cwd": "${workspaceFolder}",
      "runtimeExecutable": "deno",
      "runtimeArgs": [
        "run",
        "--inspect-brk",
        "--allow-all"
      ],
      "attachSimplePort": 9229
    }
  ]
}
Make sure that program is relative to cwd. Add a few breakpoints and start debugging inside VS Code. Here’s more on launch configurations.
Bundling your code
It’s quite likely that you want your Deno code to run somewhere other than your laptop, probably on a container running somewhere on cloud. You don’t want to add those extra seconds to your application startup when Deno downloads all the dependencies. Also, it’s always a good idea to bundle the dependencies at build time. There are two ways it can be done:
Use Deno’s bundling
Deno tries to be the one stop shop for all your development needs. Therefore it also include bundling capabilities:
deno bundle src/main.ts dist/bundle.js
The above command will generate a transpiled JavaScript file (dist/bundle.js) which includes all dependencies of the specified input (src/main.ts). This can be run as any other module:
deno run dist/bundle.js
Cache and include DENO_DIR
It’s possible to tell Deno where to cache it’s dependencies. The following command will cache all the dependencies in .deno_dir.
DENO_DIR=.deno_dir deno cache main.ts
Zip and include the .deno_dir directory in your build artifact, and on your container, unzip and tell Deno where to look for the cache:
DENO_DIR=.deno_dir deno run main.ts
Hope you’ve find the above useful.